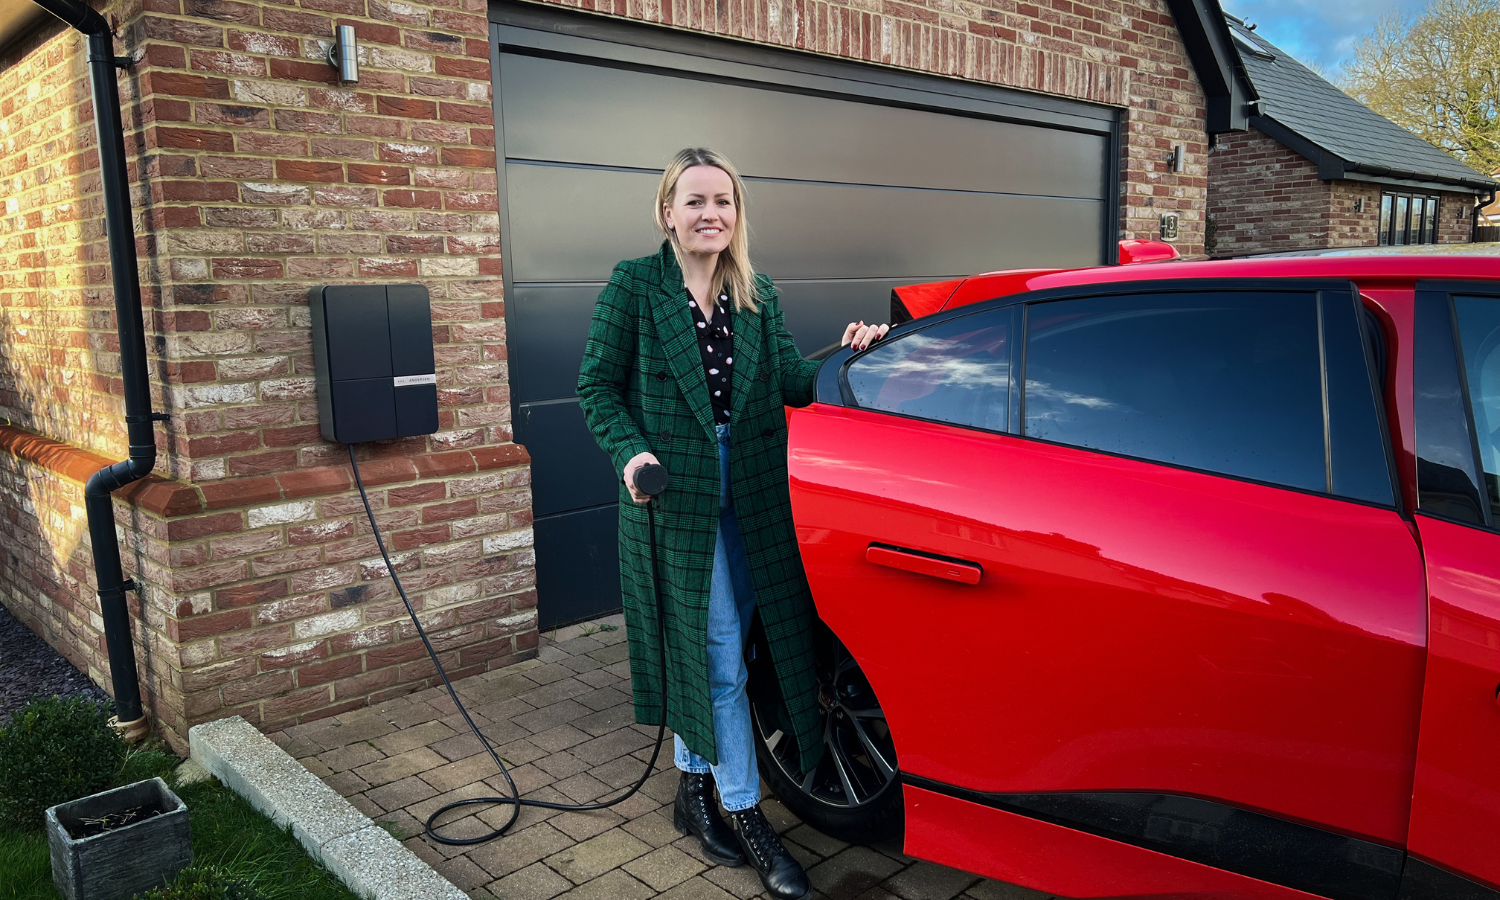
 Compatible with Intelligent Octopus Go


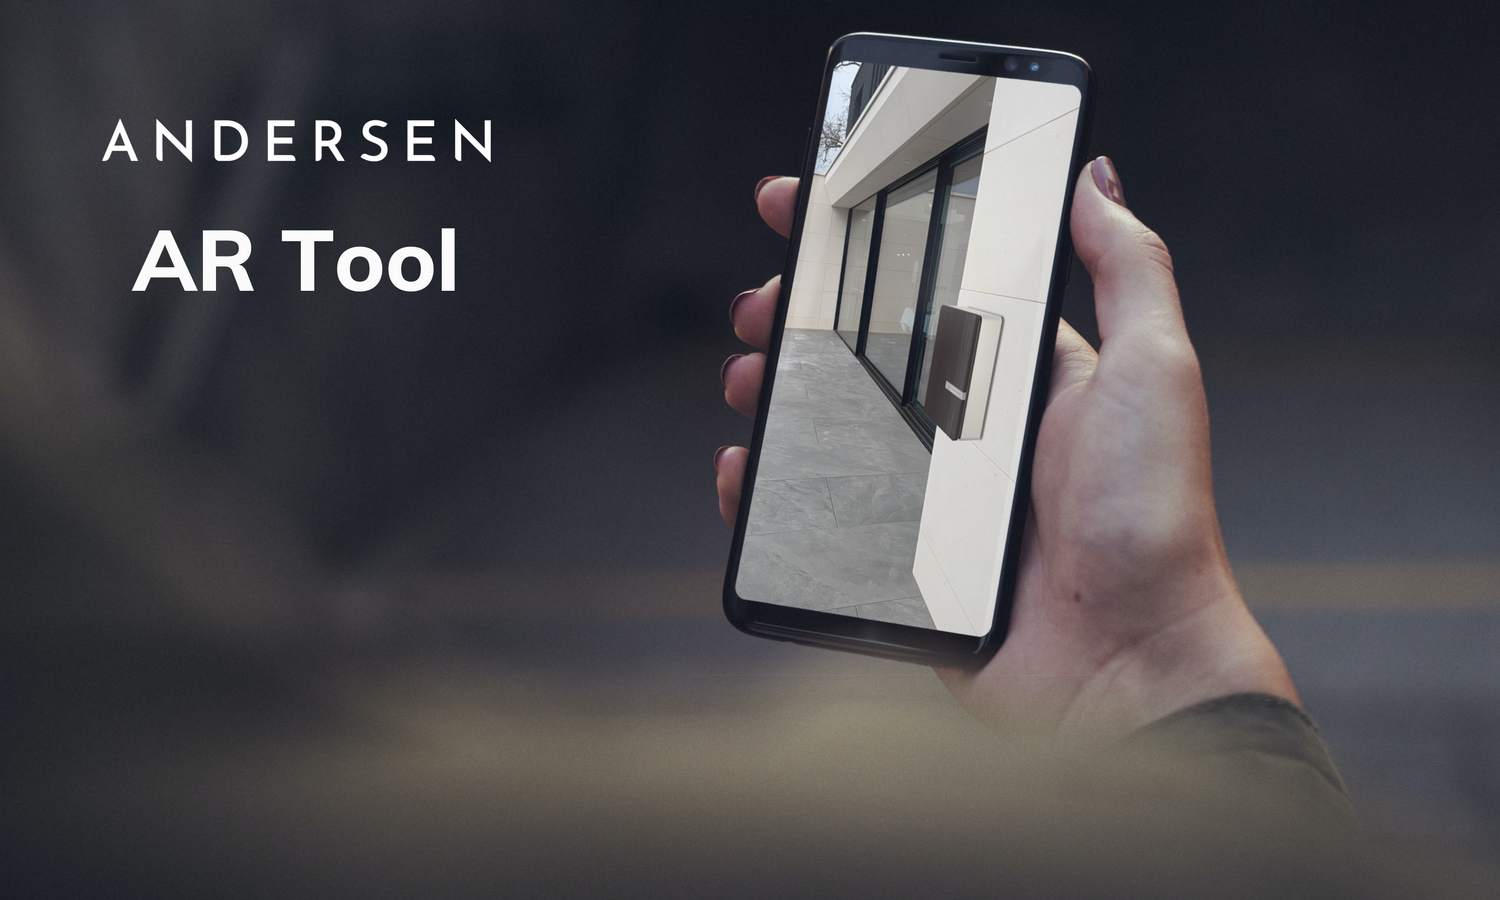
The Andersen A2 has 96 colour and finish options for you to choose from. If you're wondering which option is best for your home, we've now got the perfect tool to help you decide!
To use the Andersen AR tool, follow the instructions below:
1. Visit the Andersen A2 page here on your mobile phone
2. Go to the location where you'd like your charge point
3. Select the colour that you'd like the front and sides of your Andersen A2
4. Click the button, 'view in 3D' and you'll then see another button appear that looks like a cube. This allows you to start the AR tool.
5. Hold the phone up so your camera is pointing the wall that you would like to see the charge point on, and after around 10 seconds, it'll appear.
6. You can drag the charge point to a different position, and also move closer to the wall to see the Andersen A2 from different angles.
If you'd like to change the colour, simply go back to the Andersen A2 page and start your choice again.


Leave a comment
This site is protected by hCaptcha and the hCaptcha Privacy Policy and Terms of Service apply.