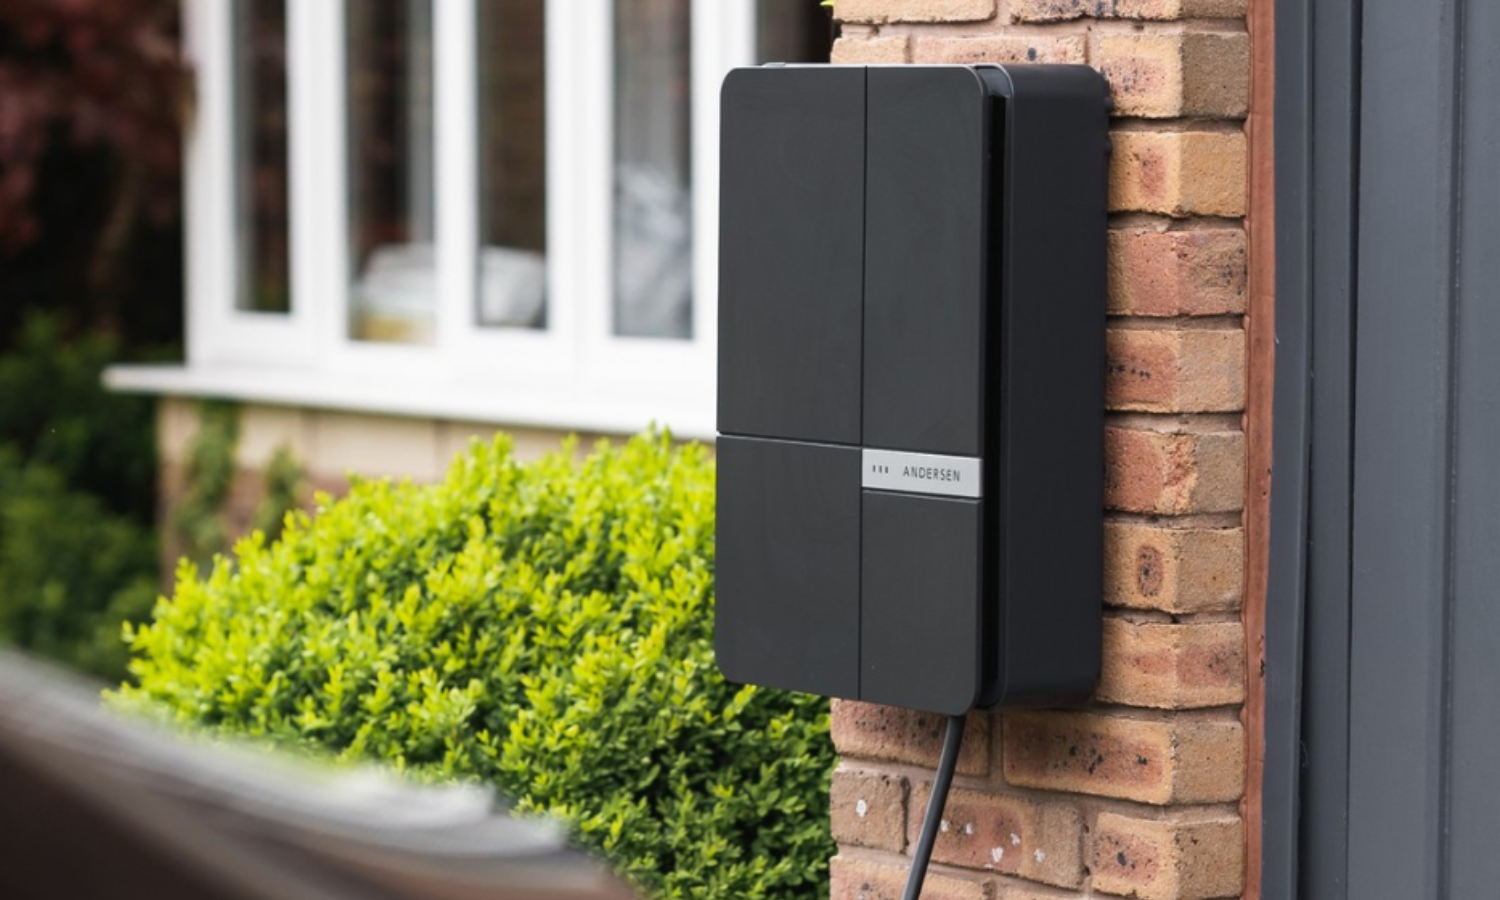
We can all do with some easy maintenance products in our lives.
So with this being said, we decided to write this week’s blog about how to care for your charge point.
Quick Overview
Models A1 & A2
Your Andersen charge point is crafted and built to the highest physical and electronic standards. All our charge points are handmade to order from our factory in the UK by long-established British manufacturers. With regular care, you can expect your charge point to provide reliable, elegant and safe charging for years to come.
This guide has been put together to ensure your new charge point provides years of easy, elegant charging.
After installation, your charge point is immediately ready to be used!
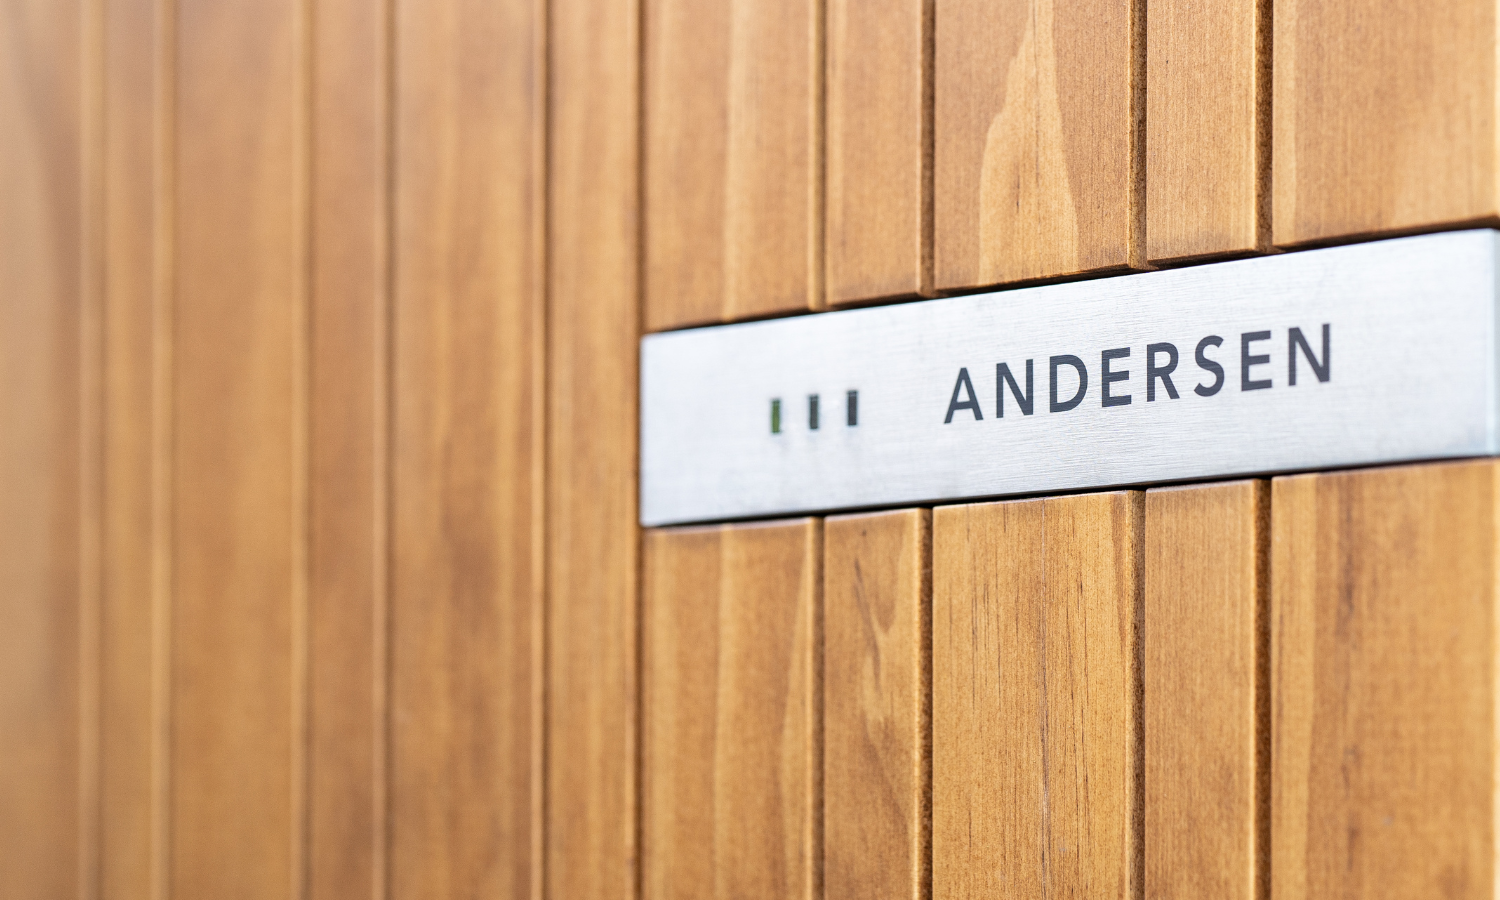
ABOUT YOUR ACCOYA WOOD FRONT
Your Accoya front is a completely non-toxic, recyclable and 100% biodegradable wood that matches and exceeds the durability of most tropical hardwoods.
We hand spray each front with Teknos, a high-performance, translucent coating system that further protects and enhances the definition of the timber.
Your Accoya front is robust and durable straight out of the box. With exposure to sunlight, rain, frost and heat the Andersen Accoya fronts have minimal distortion. It’s important to note that over time, with exposure to UV light, the colour of the wood may change and become slightly lighter in colour. We think that this change should be seen and enjoyed as part of the natural ageing process and a characteristic seen in all woods.
HOW TO CARE FOR YOUR ACCOYA WOOD FRONT
Simple steps such as wiping down the wood front with a damp cloth on a regular basis to remove dirt and insects will help extend the wood’s lifespan. For those who want to give their charge point some extra TLC, running cotton buds into the groove on the Andersen A1 and A2 fronts can help remove unwanted dirt, dust and insects. If mould or algae are present, clean the surface with warm water and a soft cloth, also. Rinse with clean water. Wipe dry with a cloth.
HOW TO CARE FOR YOUR METAL FRONTS AND METAL SIDES
Simple wiping down with warm water and a soft cloth is all that is required. For those who want to give their charge point some extra TLC, running cotton buds into the groove on the Andersen A1 and A2 fronts can help remove unwanted dirt, dust and insects.
LOOKING AFTER THE CABLE
Please ensure that when you are finished with your charge point, the tethered cable is wrapped properly around the charge point and the connector is securely hidden in the connector compartment, found within the lid at the top of your unit. Make sure to check regularly for any signs of damage, cuts etc. If any damage is seen then the A2 should be turned off at the RCD at the bottom, and the charger not be used. At this point, please contact Andersen’s technical department for further advice.
CLEANING INSIDE THE PLUG COMPARTMENT
When needed, lift the lid and using a damp cloth wipe inside the plug/connector compartment. We do not recommend using any soaps or other products while cleaning the plug compartment.
CHECK THE OUTSIDE OF THE ENCLOSURE FOR ANY SIGNS OF DAMAGE
Although our charge points are made from solid & tested materials, accidents still happen! If you see any damage to the exterior of your charge point, please contact Andersen customer care, who will gladly advise and assist you.
If you need any additional help maintaining or taking care of your charge point, or if you have any issues - Please contact us so we can assist you further. (01234) 916125
 Made in the UK


Leave a comment
This site is protected by hCaptcha and the hCaptcha Privacy Policy and Terms of Service apply.